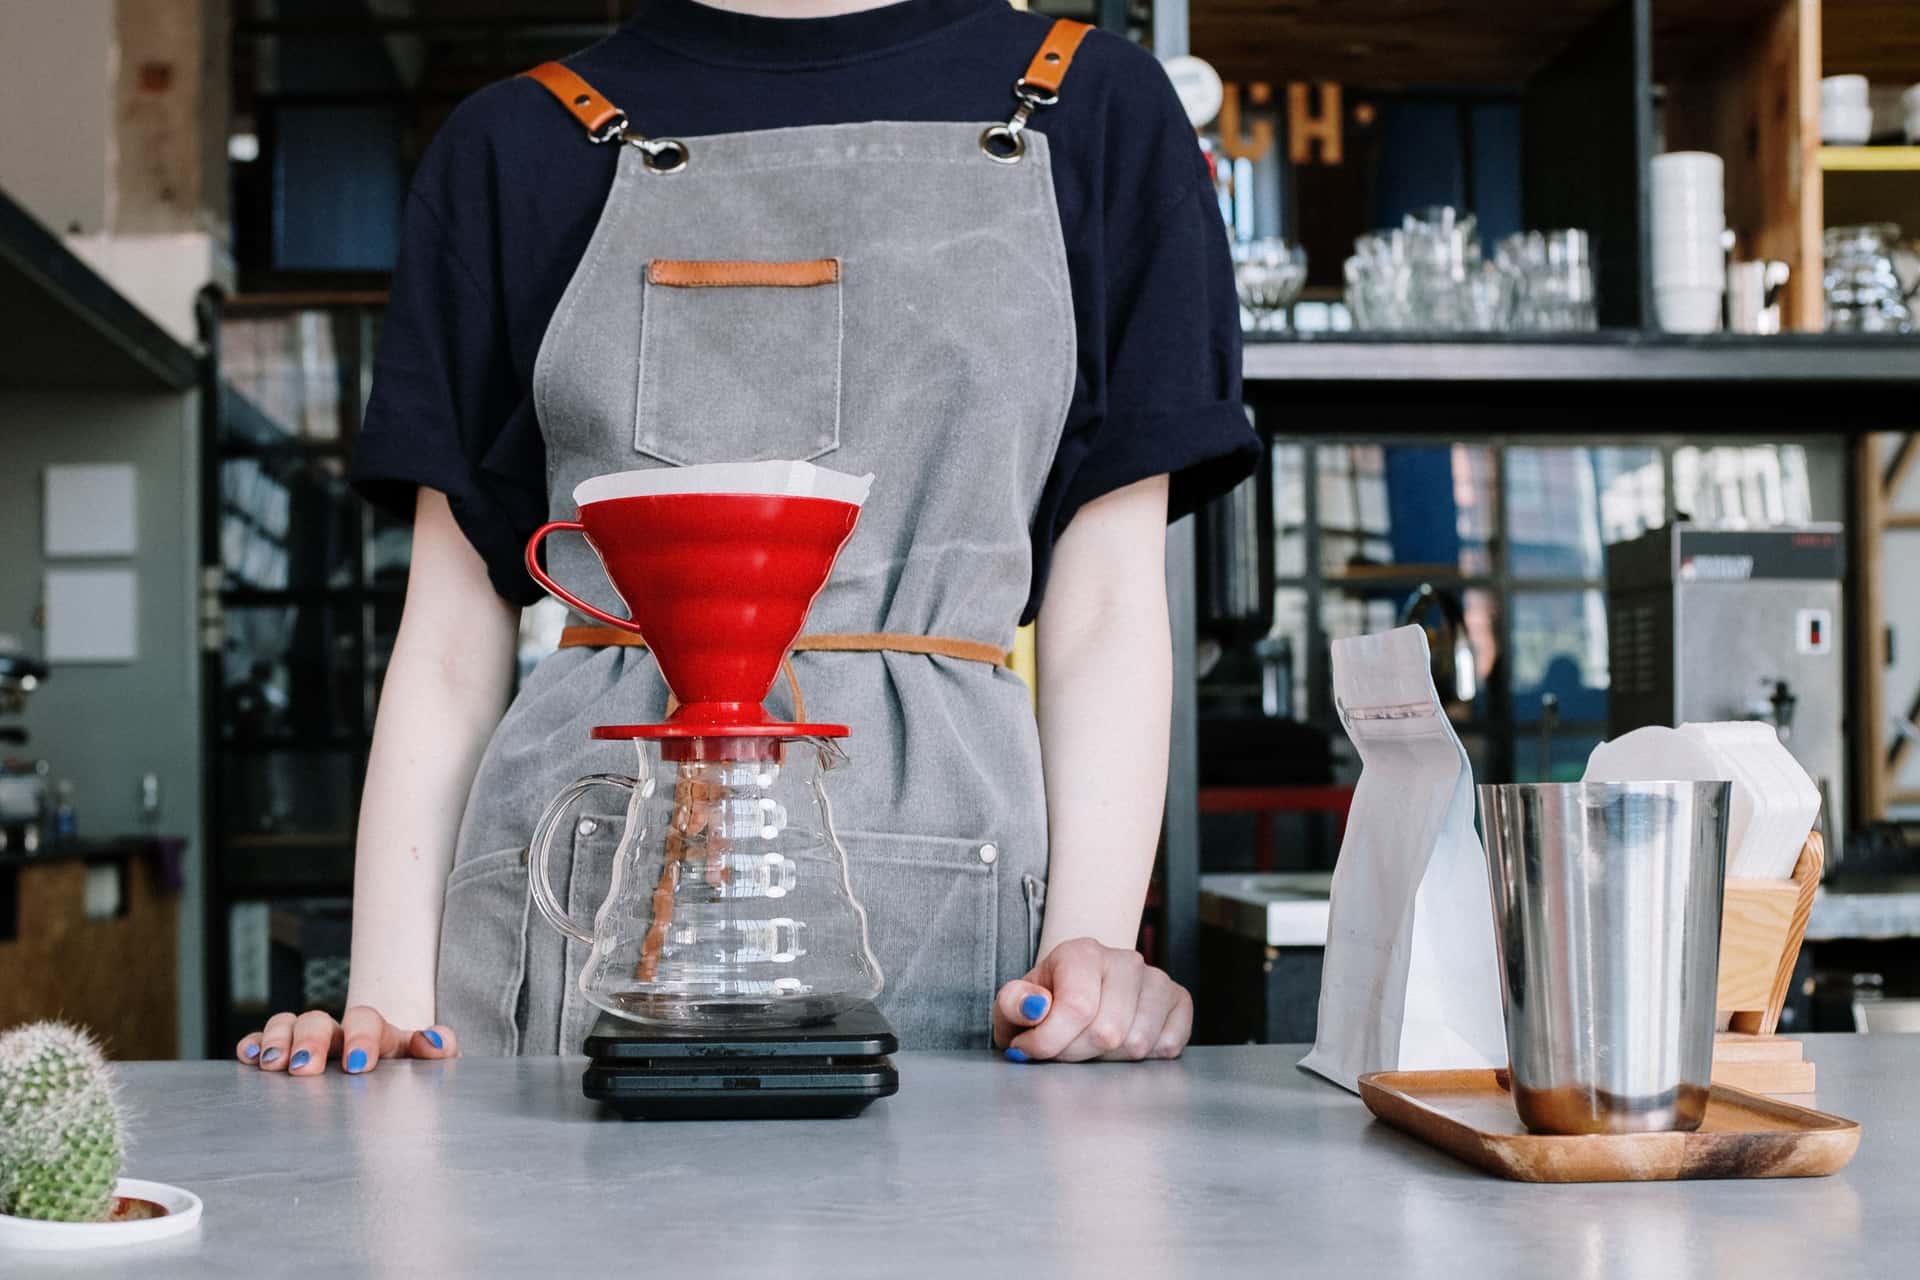
The short answer
Start at a 1:16 ratio - 20 g of coffee to 320 g of water - ground at medium-fine, brewed in about three minutes with water around 200 F. Bloom with twice the coffee weight in water for 30 to 45 seconds, then pour in stages. If the cup is sour, grind finer or pour slower. If it is bitter, grind coarser or pour faster.
The starting recipe
Scroll the table sideways to see every column.
The method
Step 1
Rinse the filter and preheat
Put the paper in the dripper and pour hot water through it into your server. This rinses off any paper taste and warms the dripper and server at the same time. Discard the water before adding coffee - ceramic in particular needs this.
Step 2
Weigh and grind
Weigh 20 g of coffee and grind medium-fine. Add it to the filter and shake the dripper gently so the bed is level. A sloped bed extracts unevenly no matter how well you pour.
Step 3
Bloom with twice the coffee weight
Start the timer and pour about 40 g of water, wetting all the grounds without pouring down the sides. Fresh coffee will visibly swell and bubble - that is carbon dioxide escaping. Wait 30 to 45 seconds. If nothing bubbles, the coffee is stale, which explains a lot of what happens next.
Step 4
Pour in stages, not one continuous stream
Add water in two or three pours, each bringing the level up and letting it draw down partway before the next. Pour in slow circles from the center outward, avoiding the very edge - water poured onto the paper runs straight down without passing through coffee.
Step 5
Finish and check the timer
Aim to have all 320 g in by about two minutes, with drawdown finishing around three. Read the total time as information rather than a target - it tells you whether the grind is right.
Step 6
Look at the bed
After drawdown the coffee bed should be flat and level. A crater in the middle means you poured too aggressively in the center. Coffee stranded high up the sides means water bypassed the bed at the edges.
Which way to move
Scroll the table sideways to see every column.
Change one thing at a time. Grind is the first lever because it has the largest effect; pour rate is the second. Do not change the ratio while you are still finding the grind.
Quick picks
The answer first. Tap any row to jump to the full reasoning for that pick.
Prices shown are checked daily against the retailer, as of October 23, 2026. We never write a price into the text of a page.
| # | Product | Best for | Award | Price |
|---|---|---|---|---|
| 1 | 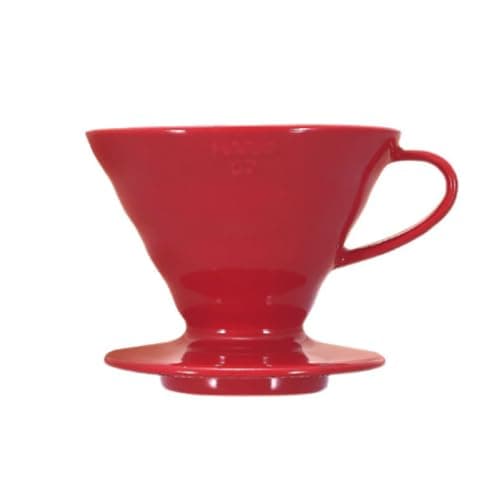 | Following any published pour-over recipe | The dripper this recipe assumes | |
| 2 | 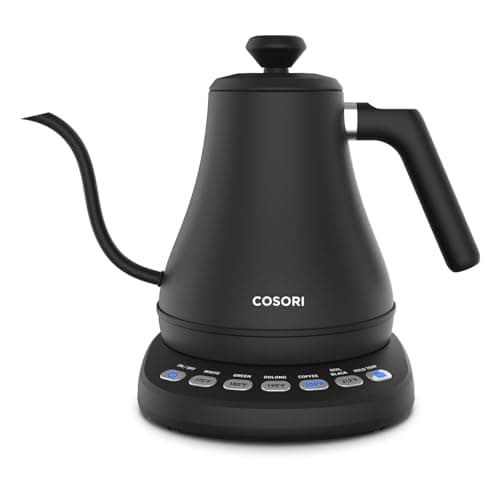 | Anyone brewing pour-over without a gooseneck | The kettle that makes it work | |
| 3 | 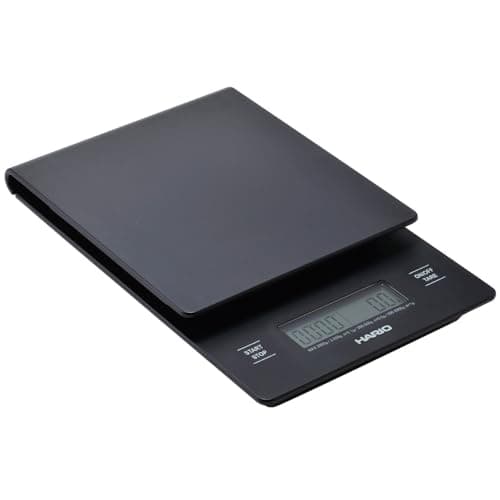 | Anyone brewing by eye | The measurement |
1. The dripper this recipe assumes
Hario V60 Ceramic Dripper 02
Manual tier · The 60-degree cone dripper that defines modern pour-over.
The 60-degree cone with one large hole, which is what most published recipes are written for.
The recipe below is written for a cone dripper, and the V60 is the reference: a 60-degree cone with inner spiral ribs and a single large hole.
The large hole restricts almost nothing, so flow is set by your grind and your pour - which is why the recipe below tells you how fast to pour rather than just how much.
The ceramic 02 measures W140 x D120 x H102 mm and brews 1 to 4 cups, in Arita-yaki ceramic that holds heat well and needs preheating.
The spiral ribs hold the paper off the wall so air escapes during the bloom and the bed expands rather than sealing.
Specification
- Geometry
- 60-degree cone, single large hole
- Ribs
- Inner spiral ribs
- Capacity
- 1-4 cups
- Material
- Arita-yaki ceramic, made in Japan
- Size
- W140 x D120 x H102 mm
What it does well
- The single large hole hands flow control to you rather than the dripper
- Ceramic holds heat far better than plastic
- More published recipes exist for the V60 than for any other brewer
Where it gives ground
- Unforgiving: an uneven pour shows up in the cup
- Ceramic needs preheating and can chip
- Needs a gooseneck kettle to be worth owning
Skip it if
Skip it if you want a more forgiving brewer. A flat-bed dripper regulates flow for you.
2. The kettle that makes it work
COSORI Electric Gooseneck Kettle
Budget tier · A stainless gooseneck kettle with five temperature presets and a keep-warm hold.
You cannot control a pour you cannot aim.
Every instruction below about where and how fast to pour assumes a gooseneck spout. With an ordinary kettle they are not instructions, they are aspirations.
The COSORI publishes 0.8 L capacity, 1200 W boiling a full kettle in three to five minutes, five presets at 170, 180, 195, 205 and 212 F, and a 60-minute hold.
The 195 and 205 F presets bracket the useful coffee range, and the hold means your third pour is at the same temperature as your first.
Every water-contact surface - kettle, lid and spout - is food-grade stainless, which is worth checking on any kettle you consider.
Specification
- Capacity
- 0.8 L
- Presets
- 170 / 180 / 195 / 205 / 212 F
- Hold
- Up to 60 minutes
- Power
- 1200 W; boils full in 3-5 minutes
- Contact surfaces
- Food-grade stainless kettle, lid and spout
What it does well
- Every water-contact surface is stainless, not plastic
- Presets cover the temperatures coffee and tea actually use
- A fraction of the Stagg outlay for most of the function
Where it gives ground
- Presets rather than a free temperature dial
- Spout control is good, not Stagg-good
- No brew timer
Skip it if
Skip it if you already own a gooseneck kettle. Upgrading a working one is a small improvement.
3. The measurement
Hario V60 Drip Scale
Budget tier · A basic brewing scale with an integrated count-up timer.
A recipe is a ratio over a duration. Both need measuring.
The whole method below is grams and seconds, and neither is something you can estimate reliably.
The Hario drip scale publishes 2000 g capacity with 0.1 g resolution between 2 and 200 g, and a count-up timer to 99:59, on a W120 x D190 x H29 mm platform.
That long, narrow platform suits a dripper on a server, which is exactly the shape this brewing method needs.
It has auto power-off after five minutes, and Hario states plainly that it is not water resistant - relevant, since it lives under a pouring kettle.
Specification
- Capacity
- 2000 g
- Resolution
- 0.1 g between 2 and 200 g
- Timer
- Count-up to 99:59
- Size
- W120 x D190 x H29 mm
- Water resistance
- None
What it does well
- Does the two things a brew scale must do, for very little money
- Long, narrow platform suits a dripper and server
- Auto power-off after five minutes
Where it gives ground
- Not water resistant, and it sits under a pouring kettle
- Slower response than the premium scales
- No flow-rate display
Skip it if
Skip it if you already weigh your brews. Any 0.1 g scale with a timer does this job.
Why the bloom matters
Coffee releases carbon dioxide for days after roasting, and that gas physically pushes water away from the grounds. Pour the full volume onto fresh coffee at once and much of it runs past rather than through.
The bloom - a small pour, then a pause - lets that gas escape so the rest of the brew can extract evenly. With older coffee the bloom will barely bubble, which is itself a useful reading of freshness.
The two mistakes that cause most bad pour-over
- 1Pouring onto the filter paper. Water that hits the paper runs down the side and out without passing through coffee, so the brew is weak for reasons that have nothing to do with your ratio. Keep the pour inside the bed.
- 2Pouring too fast. A heavy pour digs a crater in the center and pushes grounds up the walls, so the bed is deep in the middle and thin at the edges. Slow, circular pours keep it level.
If it is the grinder rather than you
A cup that is muddy and flat regardless of what you change is usually a grinder producing a lot of fines. Fines migrate down the bed, block the paper and force water to find easier routes - so the brew is simultaneously slow and under-extracted.
If that describes your coffee, an immersion brewer will make better coffee from the same grinder, because immersion gives every particle the same contact time. Alternatively, a better grinder is the fix - and it will improve everything else you brew too.