The short answer
Before the first coffee: fill the tank with filtered water, run two or three full tank-to-cup cycles of water through the group and the steam wand with no coffee in the basket to flush manufacturing residue and prime the pump, then let the machine come to temperature and flush a short shot of water through the empty portafilter to warm the group and basket. Only then grind. Set the grind so that roughly 18 g of coffee gives about 36 g of liquid in 25 to 30 seconds, and change only the grind until it does. The two mistakes that make a new machine taste cheap are using pre-ground coffee in a non-pressurized basket and not weighing anything - a 0.1 g scale matters more on day one than any accessory.
The first-run sequence, in order
Step 1
1. Wash what touches coffee or water
Tank, portafilter, baskets, drip tray. Warm water, no detergent residue left behind. These parts arrive with assembly handling on them.
Step 2
2. Fill with filtered water
Not distilled, not straight hard tap. Filtered water is the single cheapest thing you can do for the machine's working life, because scale from heated minerals is what ends most home machines.
Step 3
3. Flush the system with no coffee
Run two or three tanks' worth through the group, and run the steam wand too. This clears manufacturing residue and primes the pump. If the pump sounds dry or no water comes through, it needs priming rather than fixing.
Step 4
4. Let it reach temperature, then warm the group
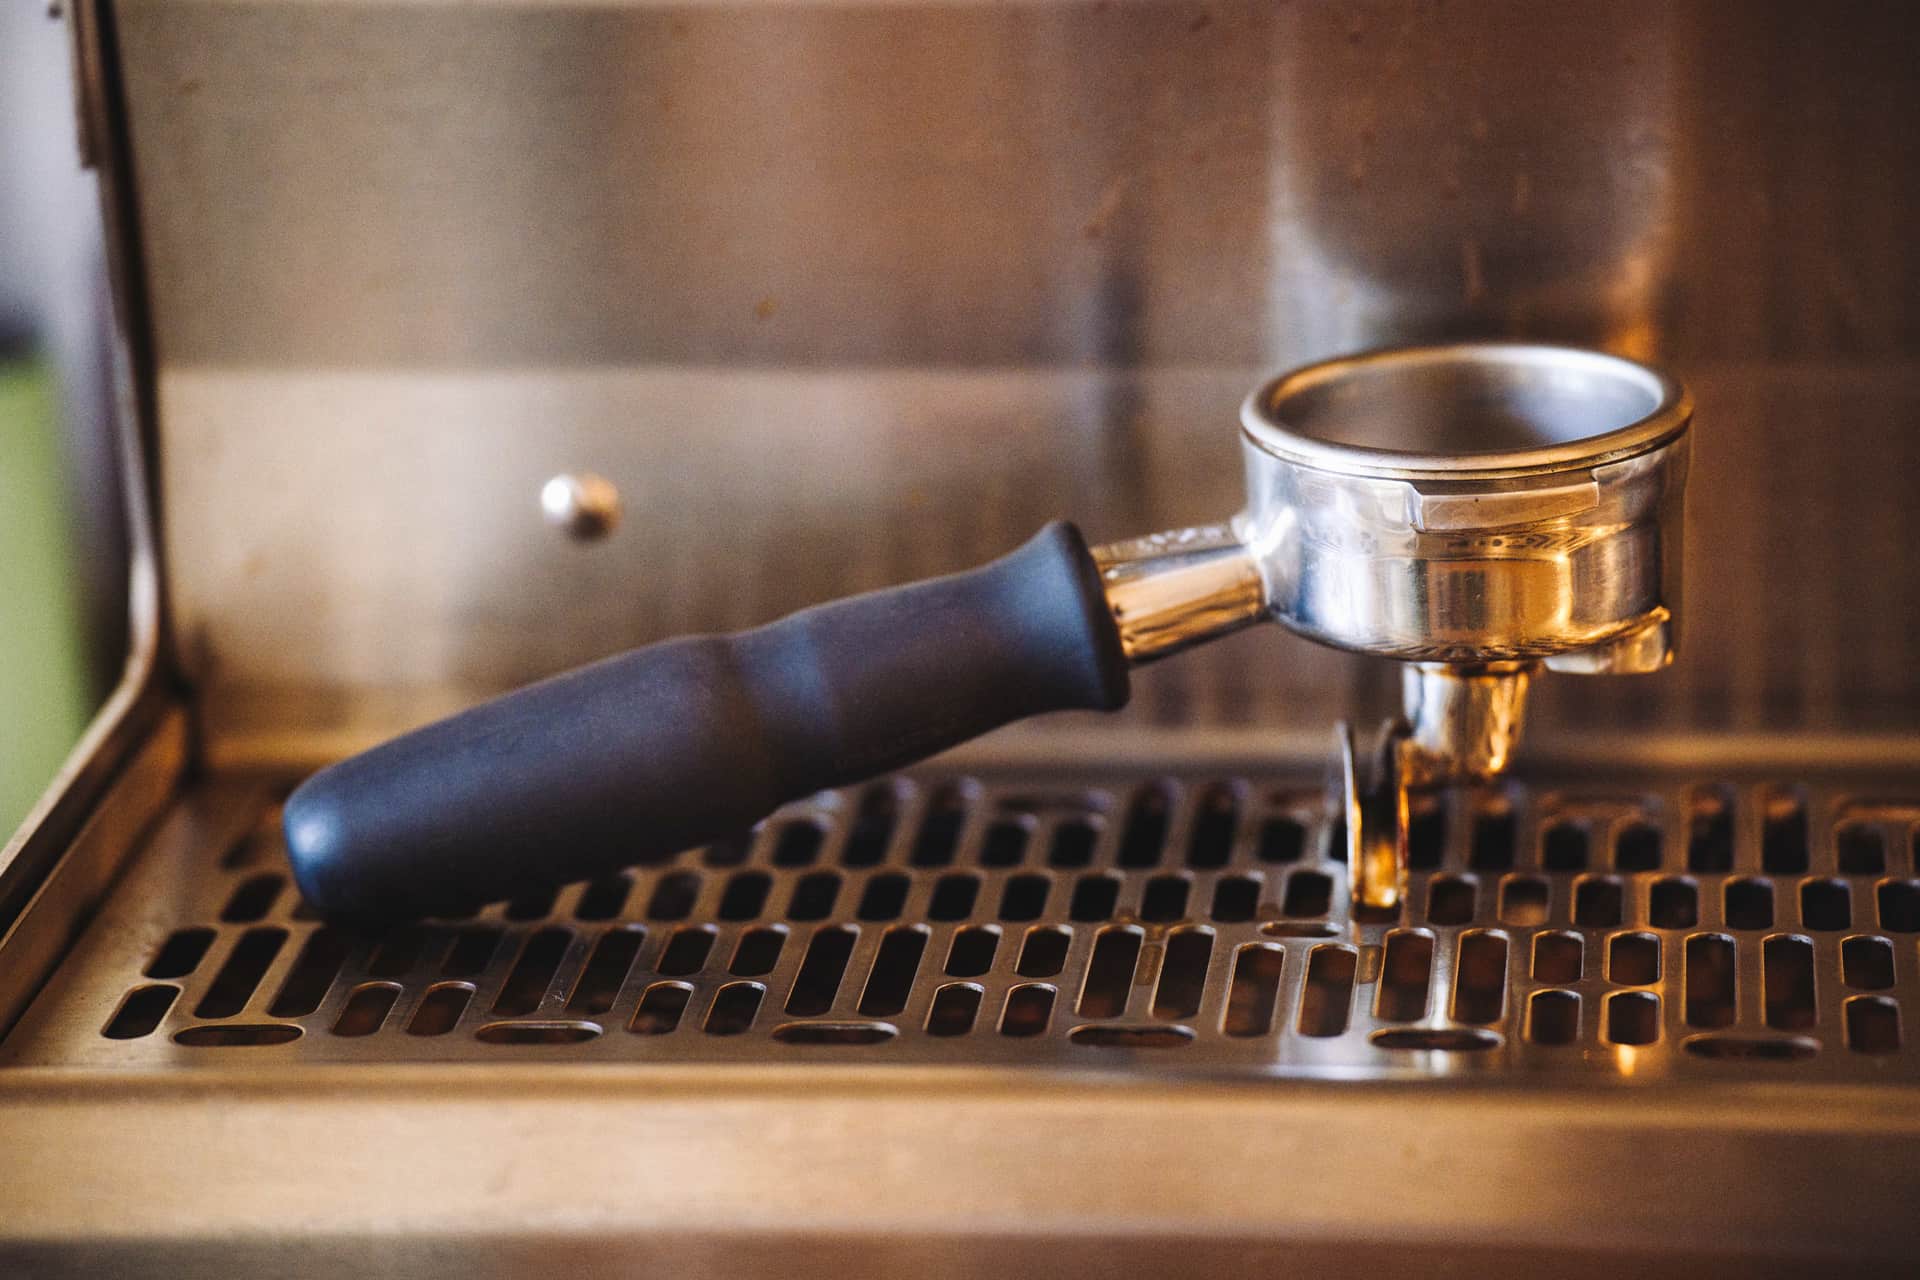
Lock in the empty portafilter and run a short flush through it. Brass and steel groups and baskets are thermal mass - a cold basket pulls several degrees out of the first shot, which is why first shots so often taste sour.
Step 5
5. Set the grind before you judge anything
Aim for about 18 g in and 36 g out in 25 to 30 seconds. Grind finer if it runs faster than that, coarser if slower. Change only the grind.
Step 6
6. Clean the group in week one
Backflush with an espresso cleaner if your machine has a 3-way solenoid valve; otherwise clean the group, screen and baskets by hand. Then set a descaling interval and keep it.
Quick picks
The answer first. Tap any row to jump to the full reasoning for that pick.
| # | Product | Best for | Award | Price |
|---|---|---|---|---|
| 1 | 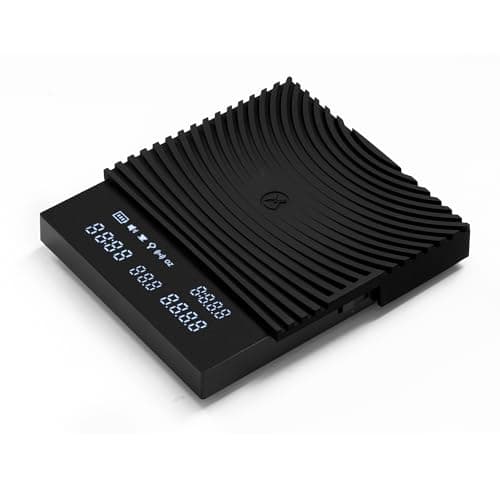 | Every new machine, at any price | Buy this before the first shot | |
| 2 | 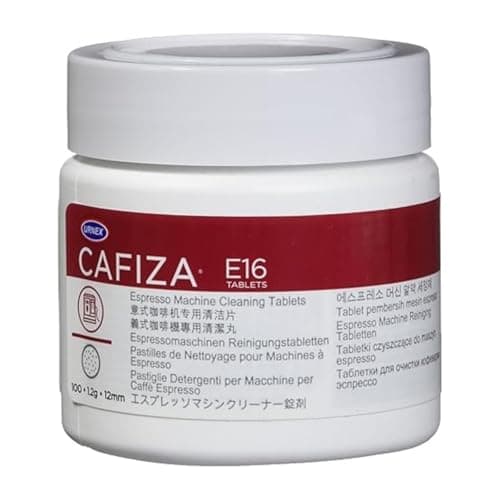 | Machines with a 3-way solenoid that can be backflushed | The first-week consumable | |
| 3 | 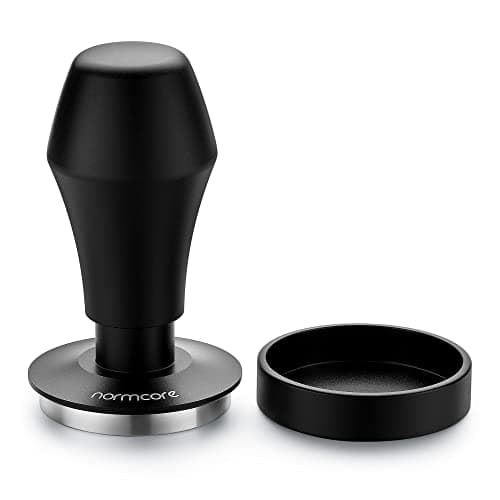 | Breville's 54 mm baskets - check your own size first | The tamper to start with | |
| 4 | 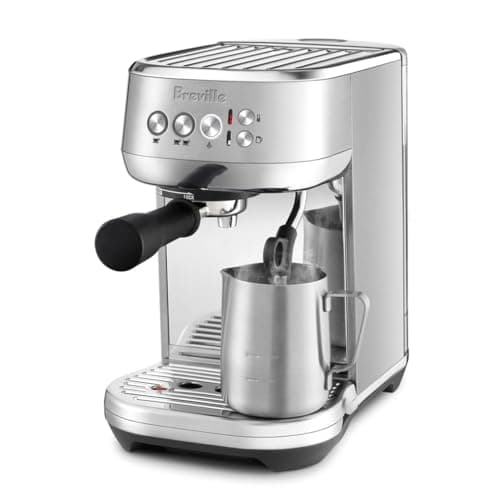 | A first machine where you want fewer variables on day one | The easiest machine to set up |
1. Buy this before the first shot
Timemore Black Mirror Basic 3.0
Entry tier · The current Black Mirror: adds a live brew-ratio readout and three brewing modes.
Nothing you do during setup is repeatable without a 0.1 g scale.
This is the one purchase that has to happen before the machine does anything useful, and it is the cheapest item in the setup. Espresso is a ratio of dose in to liquid out, and without a scale you are not measuring either number.
0.1 g resolution is what espresso needs - a gram of dose error is a visible change in the shot - and this one reads weight, a timer, flow rate and a live brew ratio.
The brew-ratio readout is the part that matters during setup specifically. You are trying to land on a target like 18 g in, 36 g out, and the scale calculating that live removes the one arithmetic step people get wrong while also watching a clock.
Espresso mode times the shot from the drip tray without a button press, which is one less thing to coordinate in the first week.
It is a 2 kg capacity scale, so it weighs beans and doses but is not a kitchen scale substitute for large batches. Timemore does not publish a comparison spec sheet against its own previous model - the Basic 2 against the Basic 3 is the honest version of that question.
Specification
- Resolution
- 0.1 g
- Capacity
- 2 kg
- Readouts
- Weight, timer, flow rate and brew ratio
- Modes
- Three brewing modes (regular, pour-over, espresso)
- Battery
- Rechargeable, USB-C
- Minimum detection
- Retailers publish 0.2 g
- Splash rating
- Retailers publish IPX3
What it does well
- The live brew-ratio readout removes the one calculation people get wrong
- Espresso mode times the shot off the drip tray without a button press
- Retailers publish a lower minimum detection and an IPX3 splash rating
Where it gives ground
- Costs a little more than the Basic 2 for the same resolution and capacity
- Three modes is three things to be in the wrong one of
- Timemore does not publish a manufacturer spec sheet comparing it with the Basic 2
Skip it if
Skip it only if you already own a 0.1 g scale that fits under your group head. Otherwise this is not optional.
2. The first-week consumable
Urnex Cafiza Cleaning Tablets
Entry tier · The industry-standard backflush detergent for stripping coffee oils from a group head.
New machines ship with manufacturing residue, and this is what clears it.
A new machine is not a clean machine. Group heads, baskets and screens arrive with manufacturing residue and assembly oils, which is why the standing advice is to run water through everything before the first coffee and to clean the group properly in the first week.
Cafiza is an espresso machine cleaner rather than a descaler - the distinction matters and people routinely buy the wrong one. Cleaner removes coffee oils from the group and baskets; descaler removes mineral scale from the boiler.
If your machine has a 3-way solenoid valve, you can backflush with a blind basket and this is the product for it. If it does not, you clean the group, screen and baskets by hand with the same solution instead.
Doing this in week one rather than month six sets a habit at the point where it is easiest to form, and group cleanliness is one of the few maintenance items that changes the taste of the cup directly.
It is not a descaler, so it does nothing for scale - that is a separate product and a separate schedule. Cafiza versus Dezcal sets out which does what.
Specification
- Job
- Cleaning - removes coffee oils and residue
- Active ingredient
- Tri-sodium phosphate
- Used on
- Group heads, portafilters and baskets
- Requires
- A machine with a three-way solenoid valve to backflush
What it does well
- The cafe standard, and it removes oils nothing else touches
- Every shot leaves oil that goes rancid within days - this is the only fix
- Also soaks portafilters and baskets, which need it regardless of machine type
Where it gives ground
- You cannot backflush a machine without a three-way solenoid valve
- Phosphate-based, so it needs rinsing thoroughly
- Does nothing about limescale - that is a descaler's job
Skip it if
Skip backflushing entirely if your machine has no 3-way solenoid - forcing it can push water where it should not go. Clean by hand instead.
3. The tamper to start with
Normcore V4 Tamper 53.3 mm
Mid tier · The calibrated V4 tamper in the 53.3 mm size made for Breville's 54 mm baskets.
Spring-loaded, so tamping stops being a variable in week one.
During setup you are trying to change one thing at a time. A spring-loaded tamper applies the same pressure on every shot and clicks when it reaches it, which removes one variable while you are still learning the others.
Sizing is the thing to get right rather than the brand: this is 53.3 mm, which is the size Breville's nominal 54 mm baskets take. A 58 mm machine needs the 58.5 mm version instead.
Interchangeable springs mean you set a pressure once and then stop thinking about it, which is exactly what you want during a period when everything else is moving.
The reason it belongs in a setup guide rather than an upgrade guide is sequencing. If tamping pressure wanders from shot to shot, you cannot tell whether a grind change helped.
Tamping pressure matters far less than distribution does. If shots channel once you are dialled in, a needle tool will do more than any tamper - and it costs less. Are espresso tampers universal has the full sizing table.
Specification
- Size
- 53.3 mm
- Fits
- Breville/Sage 54 mm baskets: Bambino, Bambino Plus, Barista Express, Barista Pro, Barista Touch, Infuser, Duo-Temp Pro
- Springs
- 15 lb, 25 lb and 30 lb included
- Base
- 304 stainless, flat
- Leveling
- Plate rests on the basket rim as you press
What it does well
- Sized for Breville's tapered 54 mm baskets rather than a nominal 54 mm
- Interchangeable springs let you choose the tamping pressure
- The leveling plate keeps every tamp square to the basket
Where it gives ground
- Heavier and bulkier than a plain tamper
- The spring click takes a few days to get used to
- Fits 54 mm Breville baskets only - it will not transfer to a 58 mm machine
Skip it if
Skip it if your machine takes 58 mm baskets - buy the 58.5 mm version, because the wrong size is worse than the tamper in the box.
4. The easiest machine to set up
Breville Bambino Plus
Entry tier · The Bambino with automatic milk texturing added.
Ready in about three seconds and textures milk for you, so setup is mostly grind.
Worth naming because setup difficulty varies enormously by machine, and this is the gentle end. ThermoJet heating means it is ready in about three seconds, so there is no warm-up routine to learn and no waiting for a boiler to settle.
It uses a 54 mm stainless portafilter at an 18 g dose with a 15 bar pump and 9 bar extraction, and it does low-pressure pre-infusion automatically. The pre-infusion is relevant to setup because it makes shots read slightly longer than on a machine without it - which surprises people timing their first shots.
Automatic milk texturing in a 16 fl oz jug removes the steepest skill from week one. You can learn to steam by hand later, on the same machine, once the espresso side is stable.
For a first setup that means the only real variable left is the grinder, which is where the attention should go anyway.
It is a sealed appliance with no repair path, and it is 54 mm rather than the commercial 58 mm standard, so the accessory world is Breville's rather than the open one. Both are real limits on where the setup can go later.
Specification
- Portafilter
- 54 mm stainless, 18 g dose
- Heating
- ThermoJet, ready in 3 seconds
- Pump
- 15 bar Italian pump, 9 bar extraction
- Milk
- Automatic texturing, 16 fl oz / 480 ml jug
- Footprint
- 11.9 x 7.4 x 14.3 in
What it does well
- Automatic milk texturing gets a usable microfoam without practice
- Same three-second heat-up as the standard Bambino
- Fits a narrow counter with a grinder beside it
Where it gives ground
- You are paying for the milk automation, not better espresso
- Still no grinder
- Auto-steam removes the control an enthusiast eventually wants
Skip it if
Skip it if you want to learn manual milk texturing from the start, or if you want a machine you can service yourself.
The two mistakes that make a good machine taste cheap
Both are setup decisions rather than technique, which is why they belong here rather than in a dialing-in guide.
Pre-ground coffee in a non-pressurized basket. Pre-ground coffee is both stale and the wrong size for your machine, and a single-wall basket has no mechanism to compensate. The shot will run fast and taste thin and there is no grind setting that fixes it, because you do not have a grind setting. If you have no grinder yet, a pressurized dual-wall basket will produce something drinkable in the meantime.
Not weighing anything. Espresso is a ratio, and a machine cannot tell you what went in. Without a scale, a shot that tastes wrong gives you no information about which of dose, grind or yield to change, so the first week becomes guesswork and people conclude the machine is bad.
Water: the decision people skip
What you put in the tank affects both the cup and the machine's lifespan, and it is settled at setup rather than revisited.
Scroll the table sideways to see every column.
Filtered is the default answer for almost everyone. The reason distilled is not better despite making no scale is that extraction needs some mineral content to work, and some machines will not register a full tank without conductivity.
How long before it tastes right
Expect the first bag to be mostly calibration rather than coffee. That is normal, and knowing it in advance is most of the value of a setup guide.
A new machine, a new grinder and a new bag at once means three unknowns. The fastest route through is to fix two of them - one bag, one dose - and move only the grind until the shot lands in the window. How to dial in espresso is the method in full, and how to dial in on a Breville Bambino is the machine-specific version if that is what you bought.
If you are still assembling the setup rather than unboxing it, the best espresso setup under $1,000 covers how to split a budget across machine, grinder and scale.